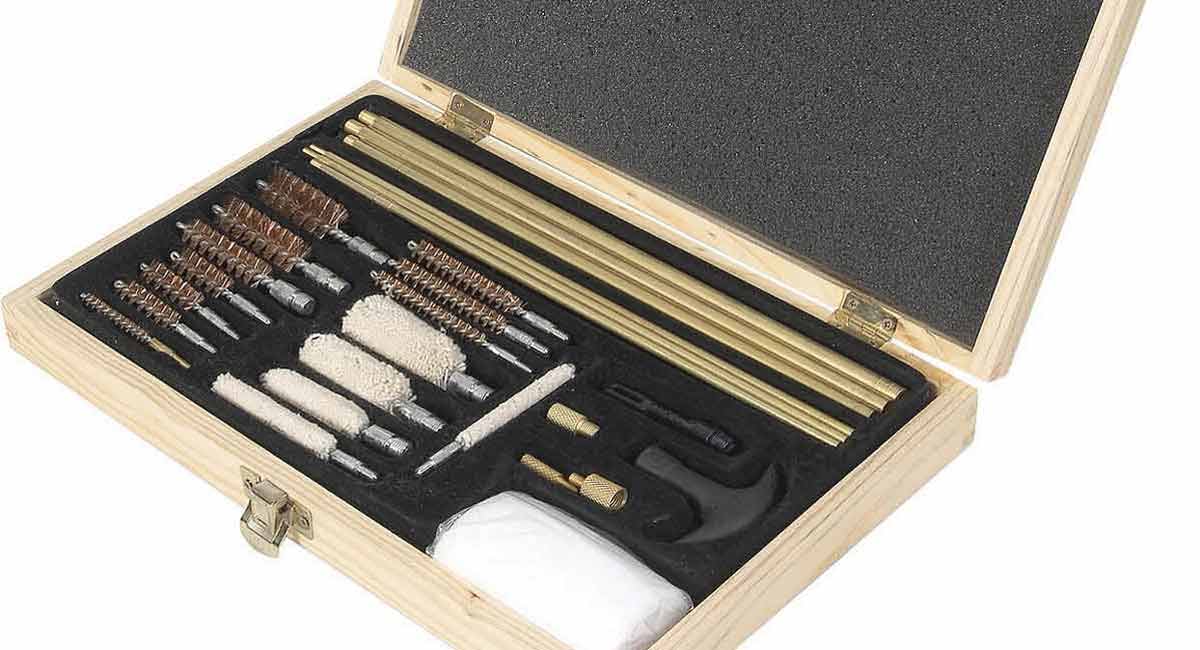
As a new season approaches we have produced a guide to help you take special care of your rifle. It is important to regularly clean and care for your rifle, ideally after each days use. By protecting and caring for your investment, accuracy is maintained, safety is not compromised and your gun’s appearance is preserved.
With the help of this step-by-step guide you can easily transform yourself from the person who usually leaves their rifle in a rifle case at the end of an arduous stalk without a second thought, into someone who reaps the benefits of proactive gun care (all while avoiding a potentially expensive trip to the gunsmith!)
Safety Checklist
- Choose a spacious and well ventilated area in which to clean your rifle.
- Clear away all ammunition.
- Ensure your rifle is unloaded.
- Consider using a means of holding the rifle in place, such as a gun vice.
- When using chemicals or solvents to aid the cleaning process, wear the necessary protective clothing, such as gloves, safety goggles and overalls.
Tip: Although not vital, a place to store small parts can avoid loss and speed up the cleaning process.
Rifle Cleaning Guide
An easy to follow guide for cleaning your rifle:
- Disassemble your rifle. If you are unaware of how to take your gun apart, make use of the manufacturer’s manuals (either paper or on the internet) or ask for advice from a friend who is knowledgeable on rifle maintenance.
- Check the rifle is unloaded
- Remove bolt – a common method is to pull and hold back the trigger and pull the bolt rearward out of the chamber/receiver. There are other mechanisms in place such as a lever at the side of the chamber that you press in to allow the bolt to be removed. If unsure refer to the manufacture’s manual.
- Wipe down your rifle with a paper towel to remove dust and dirt. Any grease applied to the rifle as a lubricant during the previous clean should also be wiped off to remove any excess grime stuck to it.
- Place a towel over the wooden stock to protect areas where spilling solvent will cause damage.
- Remove metal parts (bolt, magazine etc.) and either soak or spray them down with solvent. Ensure that the solvent being used will not remove any finish on the metal.
- Attach a cleaning patch to the end of a cleaning rod and immerse the cleaning patch in solvent.
- Insert the rod at the chamber end and move it towards the muzzle of the gun. When the rod comes out of the barrel and into the muzzle, do not pull it back through until you have removed the patch as this may reapply the dirt you have just removed.
- Continue Step 5 until you have removed the bulk of the dirt. You can check this by looking down the barrel. If you wish to use a wire cleaning brush, you may do so to help remove excess dirt.
- Wipe down all metal parts that were soaked/sprayed with solvent in Step 4. Spray the metal parts with rust protector.
- If desired, apply a small amount of oil (the same as the stock is finished in) or some wood cleaner to the stock to give it a new, shiny look.
- Lubricate your trigger assembly and bolt with lubricant. Lubricant can be applied with a paint brush or a cotton bud. Note: Using a cotton bud requires extra attention to not leave traces of cotton in the rifle.
- Reassemble and enjoy your newly cleaned rifle.
Check out our handy rifle care products that will keep you, and your rifle, performing at best for seasons to come.
Do keep an eye out for new stalking clothing, equipment and accessories in preparation for the start of the new season in early July.

